Fix Your HVAC System Like a Pro with DIY Tips
At diy hvac service, we provide easy-to-follow guides and reliable products to help you repair your HVAC system yourself, saving time and money.
5/8/20244 min read


let’s start with the basics!
Maintaining an HVAC system is essential for keeping your home comfortable, efficient, and safe year-round. Regular upkeep includes changing or cleaning air filters every one to three months, checking thermostat settings for proper operation, and keeping outdoor units clear of debris to ensure proper airflow. It’s also important to inspect ductwork for leaks, listen for unusual noises. By staying proactive with maintenance, you can extend the life of your system, improve indoor air quality, reduce energy costs, and avoid unexpected breakdowns.
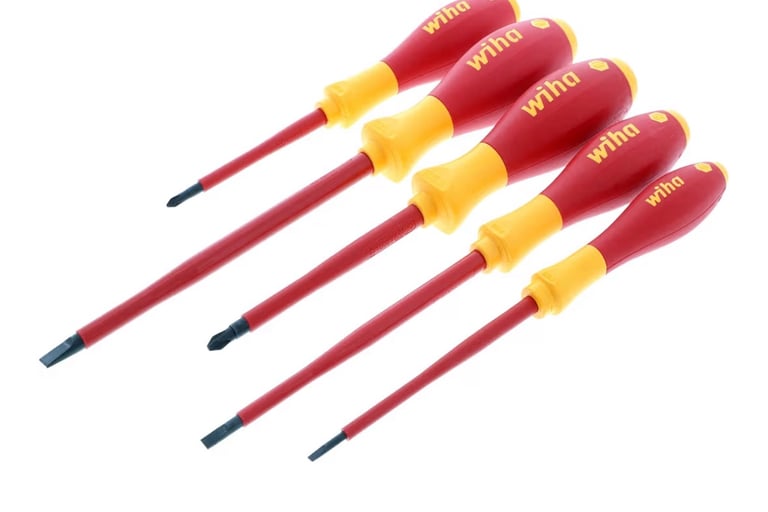
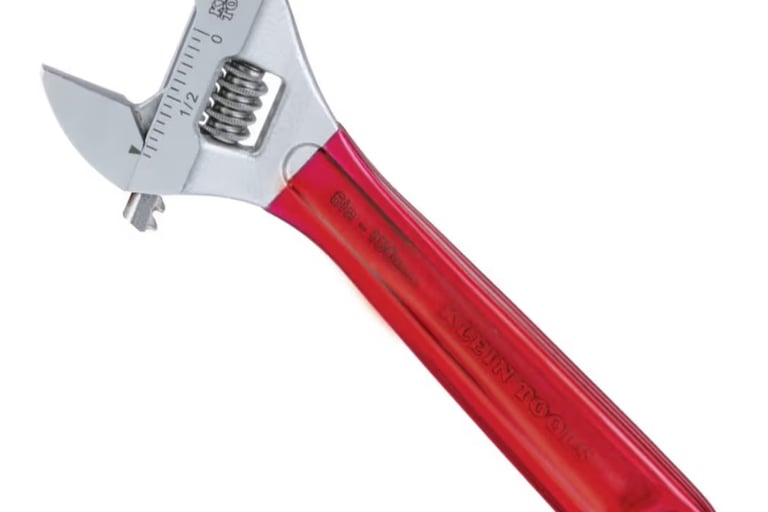
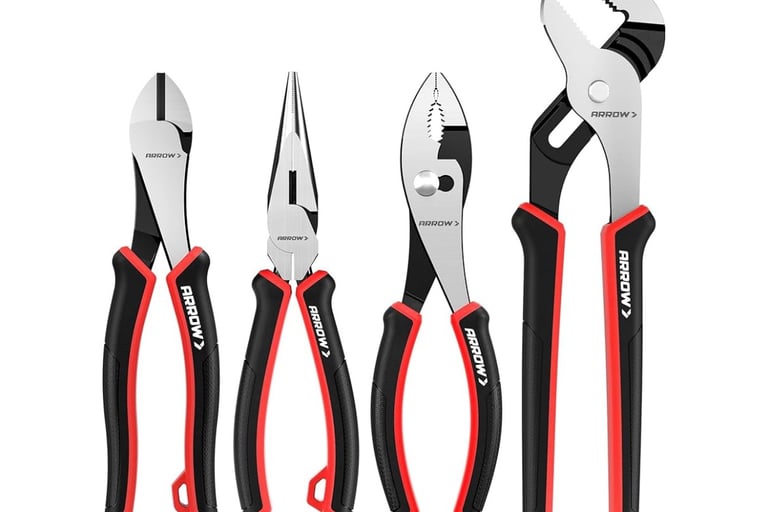
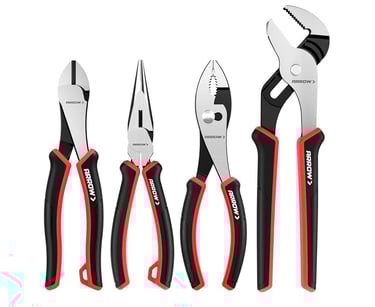
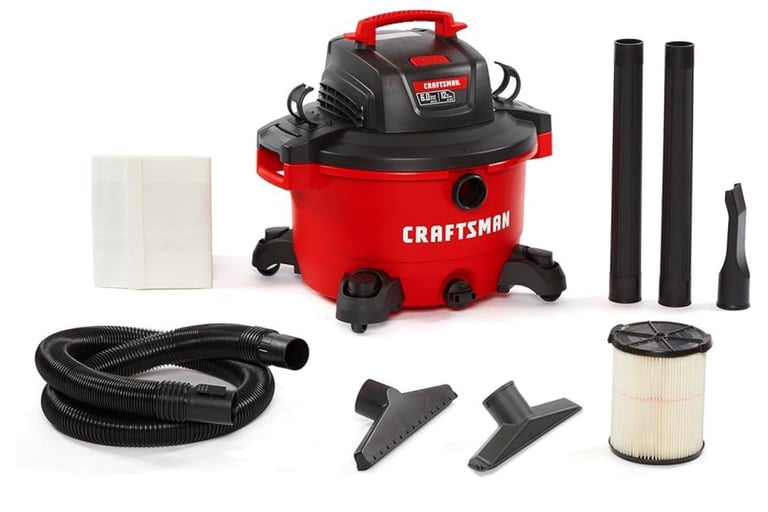
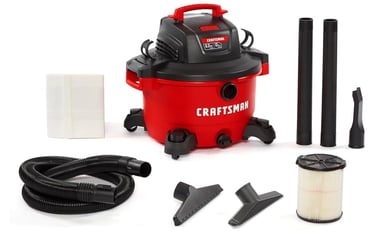
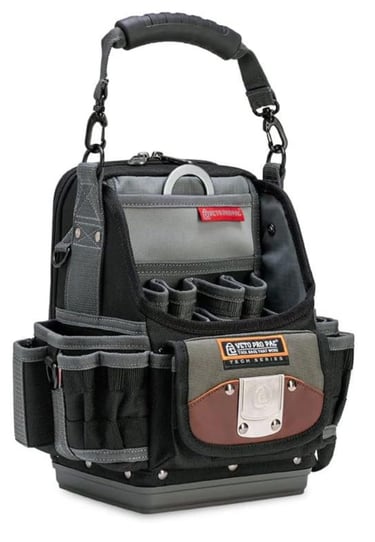
Maintaining a home HVAC system requires a handful of reliable tools to keep everything running smoothly and safely. Basic items like a screwdriver set, adjustable wrench, and pliers help you access panels and tighten connections. A vacuum or shop vac is useful for removing dust and debris from around the unit, while a soft brush or coil-cleaning tool helps clean evaporator and condenser coils. You may also need a level to ensure the outdoor unit sits properly, a flashlight for inspecting hard-to-see areas, and replacement air filters for routine upkeep. For more advanced maintenance, tools like a multimeter for checking electrical components or a refrigerant gauge set should be used carefully—and typically only by trained professionals. Having the right tools on hand makes simple HVAC care easier, safer, and more effective.
Below i will list some tools you may want to consider investing in before trying to work on any hvac system!


Now that we have the basics let’s talk about changing your home air filter!
In most home HVAC systems, you’ll find the air filter in one of three common locations. Here’s how to figure out where yours is:
1. At the Return Air Vent (Most Common in Homes)
Look for the large grille inside your home—usually in a hallway, ceiling, or wall.
If the grille is bigger than a normal supply vent (often 16x20, 20x20, 20x25, etc.), it likely hides the filter.
Open the grille with the thumbscrews or latches
The filter will be sitting right behind it
2. At the Furnace or Air Handler (Inside Closet, Attic, Basement, or Garage)
If your system uses a furnace or a central air handler, the filter may be near the blower:
Look on the side, bottom, or top of the unit where the return duct connects
There’s often a small slot or door labeled “Filter,” where the filter slides in and out
This is common for vertical units in closets or horizontal units in attics
3. Inside the Return Plenum (Less Common)
Some older or custom systems place the filter inside the large metal box attached to the furnace:
You may see a small metal door or panel with screws
Behind it will be the filter, directly before the blower motor
With your air filter changed let’s talk about checking basic electrical components for wear
Before you begin, turn off power at the breaker to both the indoor and outdoor units. Electricity in HVAC systems can be dangerous even when the unit appears off.
1. Inspect the Thermostat
Remove the thermostat cover.
Look for loose wires, corrosion on terminals, or dust.
Make sure the screen is clear, buttons work, and settings respond.
Replace batteries if it uses them.
2. Check Electrical Connections
With the panel removed (power OFF), examine wiring inside the air handler and outdoor condenser.
Look for:
Loose or frayed wires
Burnt or discolored insulation
Melted connectors
Corrosion around terminals
Gently tighten any clearly loose screw-type connectors (don’t overtighten).
3. Examine the Capacitors (Common Failure Point)
Capacitors help motors start and run. When failing, they show visual signs.
Look for:
Bulging or swollen top
Leaking oil
Burnt smell
Rusted or corroded terminals
If you see any of these, the capacitor should be replaced.
Look in my products page to find the capacitor you need. If it’s not in there please email me.
4. Inspect Contactors (Outdoor Unit)
Contactors control power flow to the compressor and fan.
Warning signs of wear:
Pitted or burnt contacts
Buzzing or chattering noise when the system runs (with power back on)
Sticking contacts
If the surface looks badly burnt or uneven, replacement is needed.
Look in my products page to find the contractor you need if it’s not in there please email me!
5. Check the Blower Motor and Fan Motor Wiring
Look for:
Loose mounting screws
Wires touching moving parts
Heat damage or melted wire insulation
Spin fan blades by hand (with power off) — they should rotate smoothly without grinding.
6. Inspect Fuses
Most systems have cartridge fuses near the air handler or outdoor disconnect.
Look for:
Burn marks
Broken filament (visible in glass fuses)
Loose connections in the fuse holder
7. Look for Signs of Overheating
Anywhere electricity flows, you want to check for:
Burnt smells
Heat discoloration (brown or black marks)
Melted plastic near relays, wires, or boards
Scorch marks inside the panel
These signs almost always mean a component is drawing too much current.
8. Check Circuit Boards
Most modern HVAC systems have a control board inside the furnace/air handler.
Look for:
Burnt components
Broken solder points
Corrosion
Blinking error codes (after power is back on)
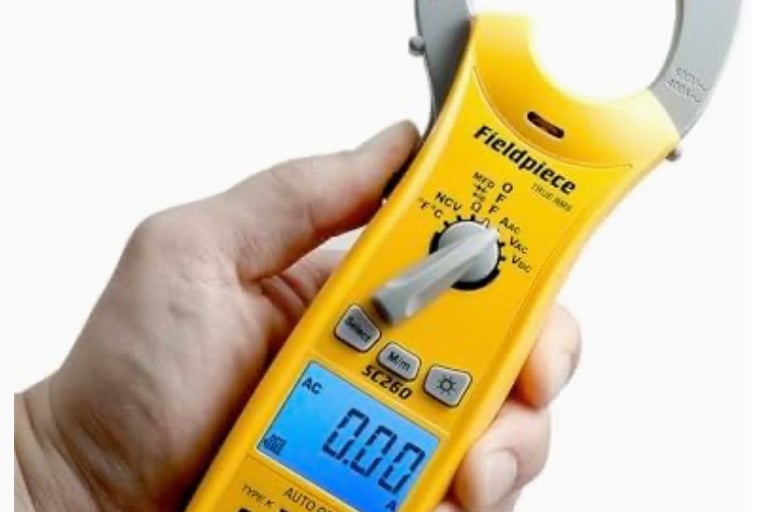
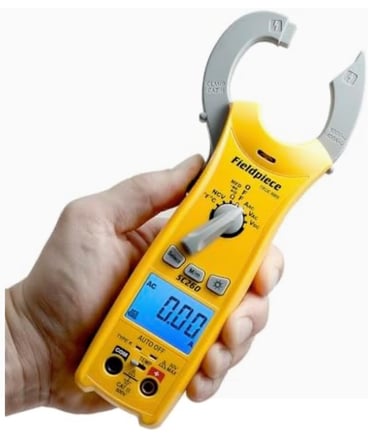
9. Test with a Multimeter (If You’re Comfortable)
If you know how to use one safely, you can:
Test capacitance on capacitors
Test voltage at the contactor and thermostat wires
Check continuity on fuses
If you’re not confident, stop at the visual inspection steps.
Here are some tools to help with checking electrical components
Along with all the same tools from the previous section you will want to add these items to your tool bag!

For more in depth guides head over to my guides page in the pull down tab!
Help
Questions? Reach out anytime, we're here.
Contact
Randy.collins@diyhvacservice.com
© 2025. All rights reserved.